How to Add a Table Sections
Add table sections

Support Team
Last Update hace 7 meses
Biyo Point of Sales application allows you to add table sections. To add a table section and arrange the table section, follow the below steps.
Steps to add a table sections:
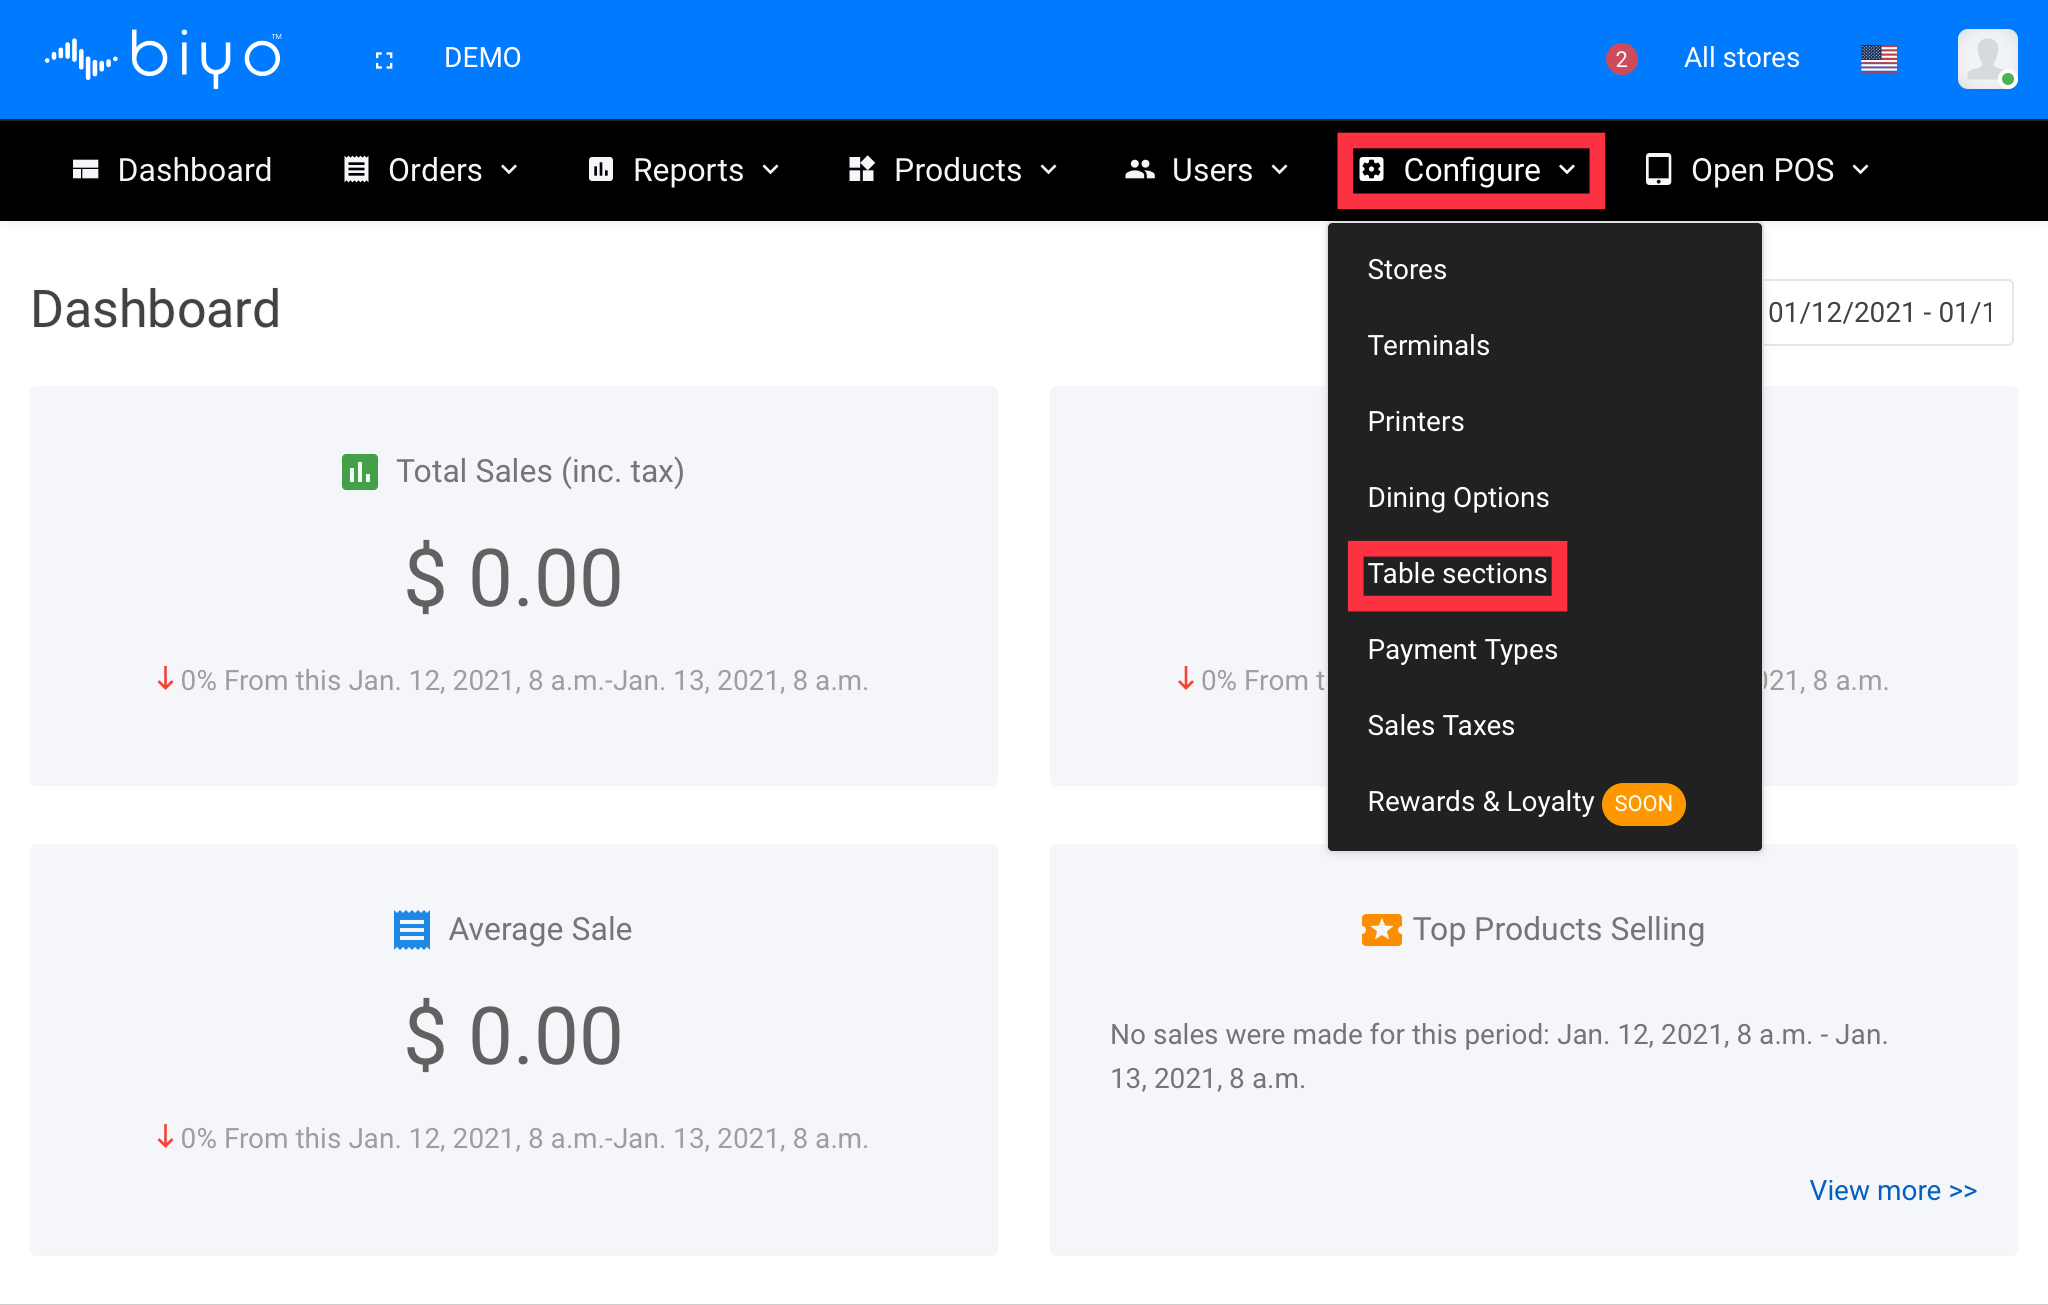
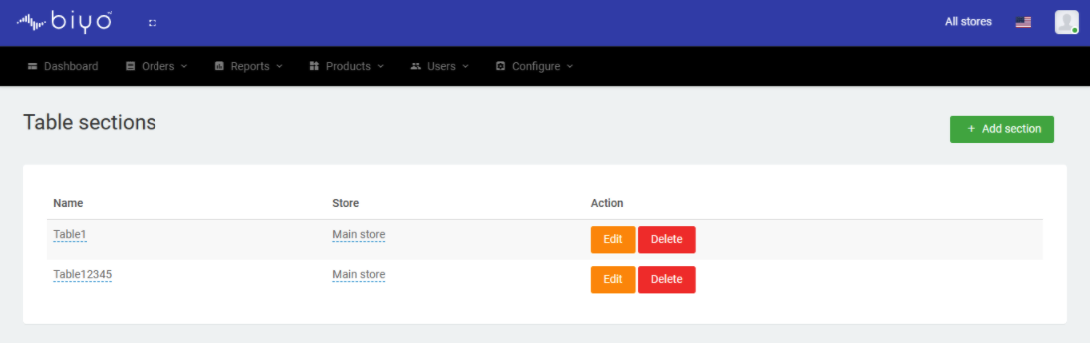
1. Click on Configure menu and from there click on sub menu Table Sections.
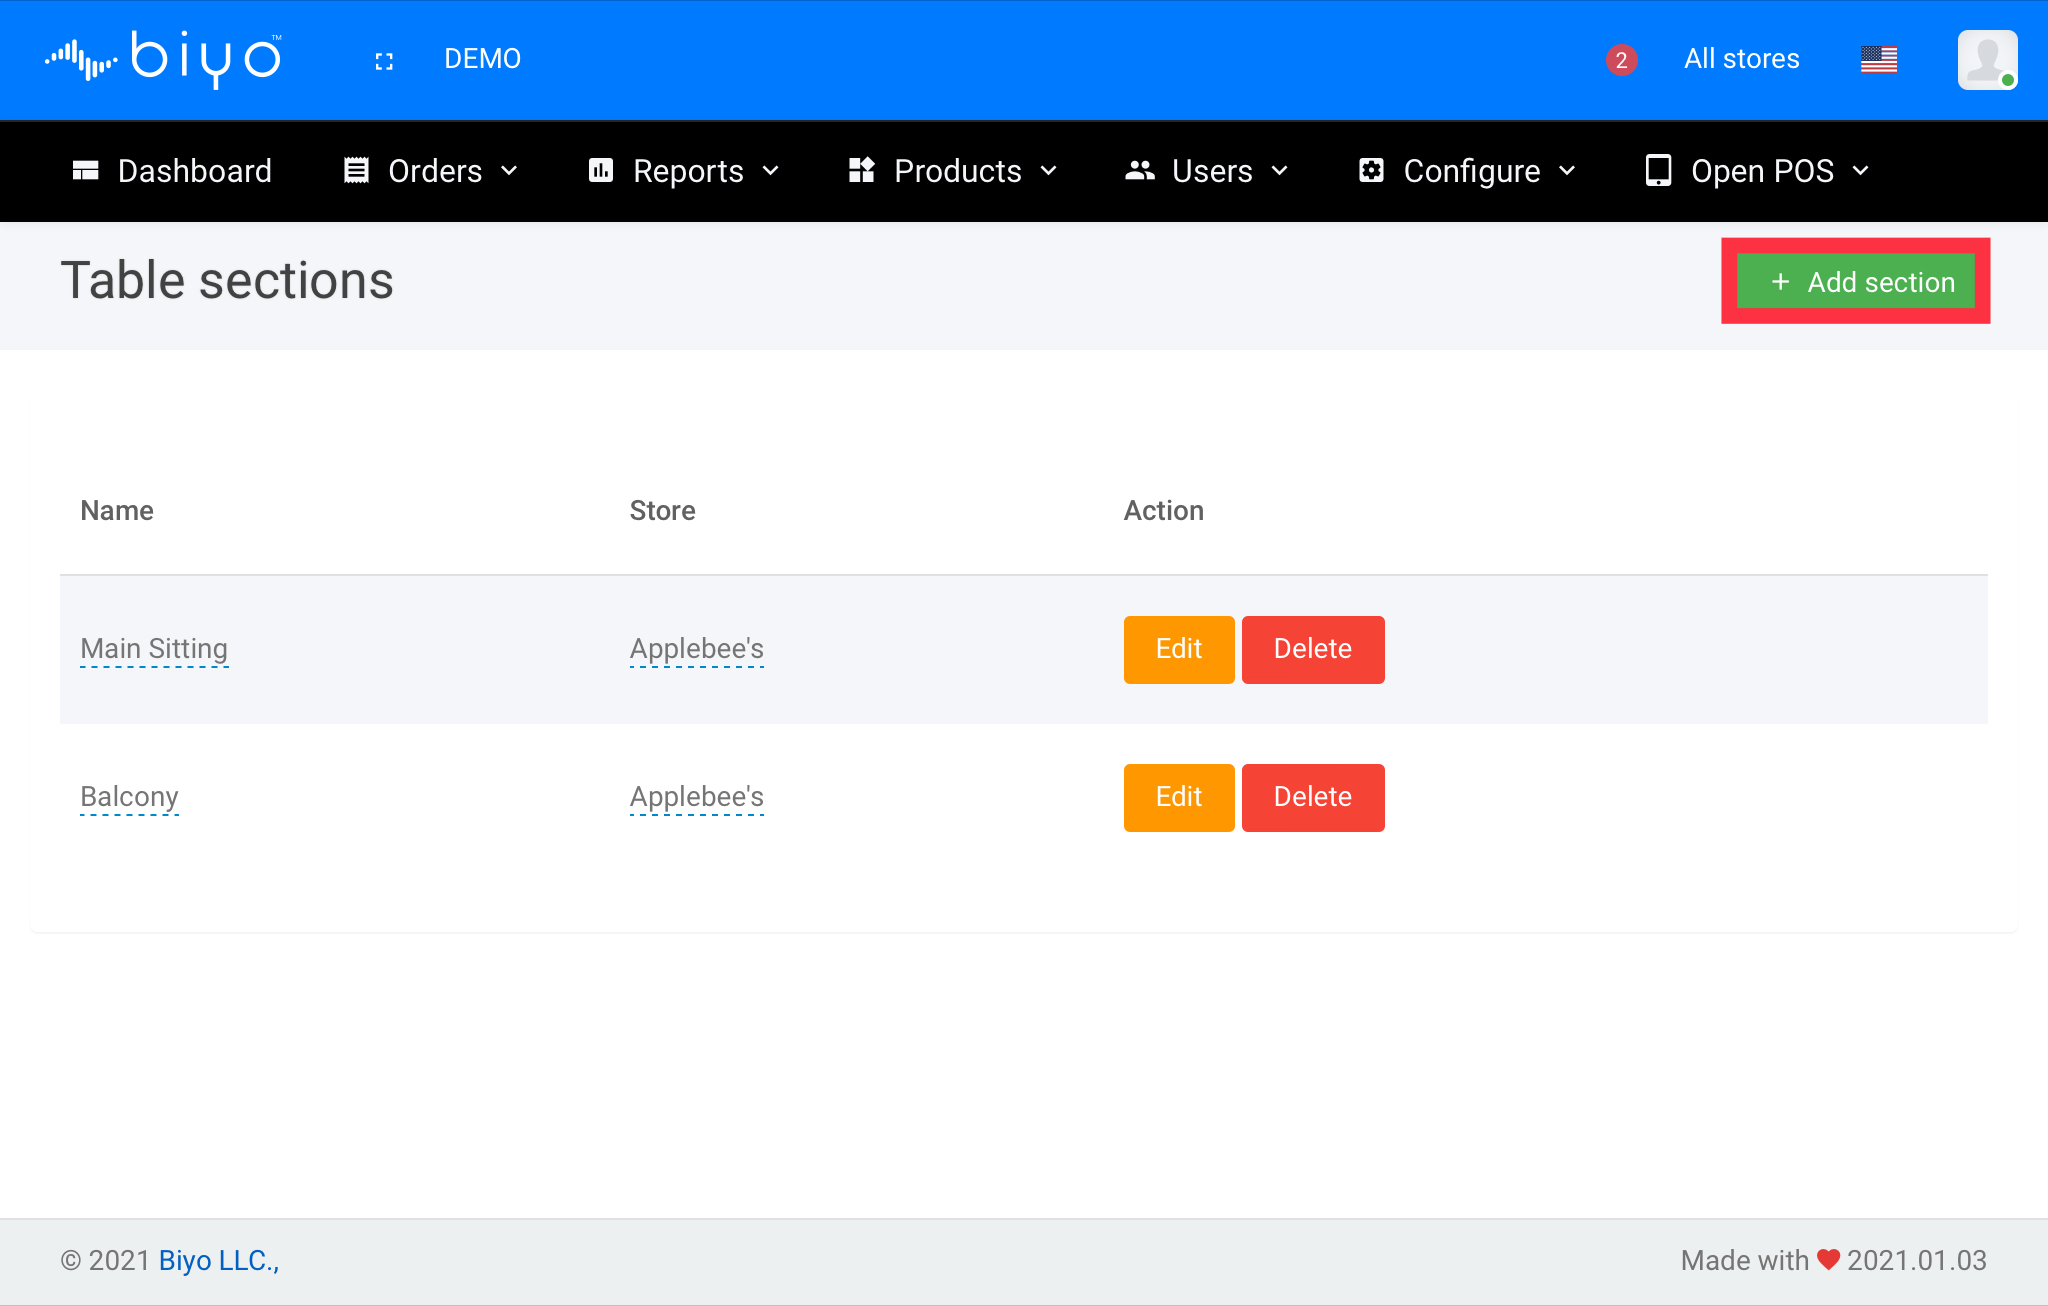
2. From the table sections list page, click on Add Section button.
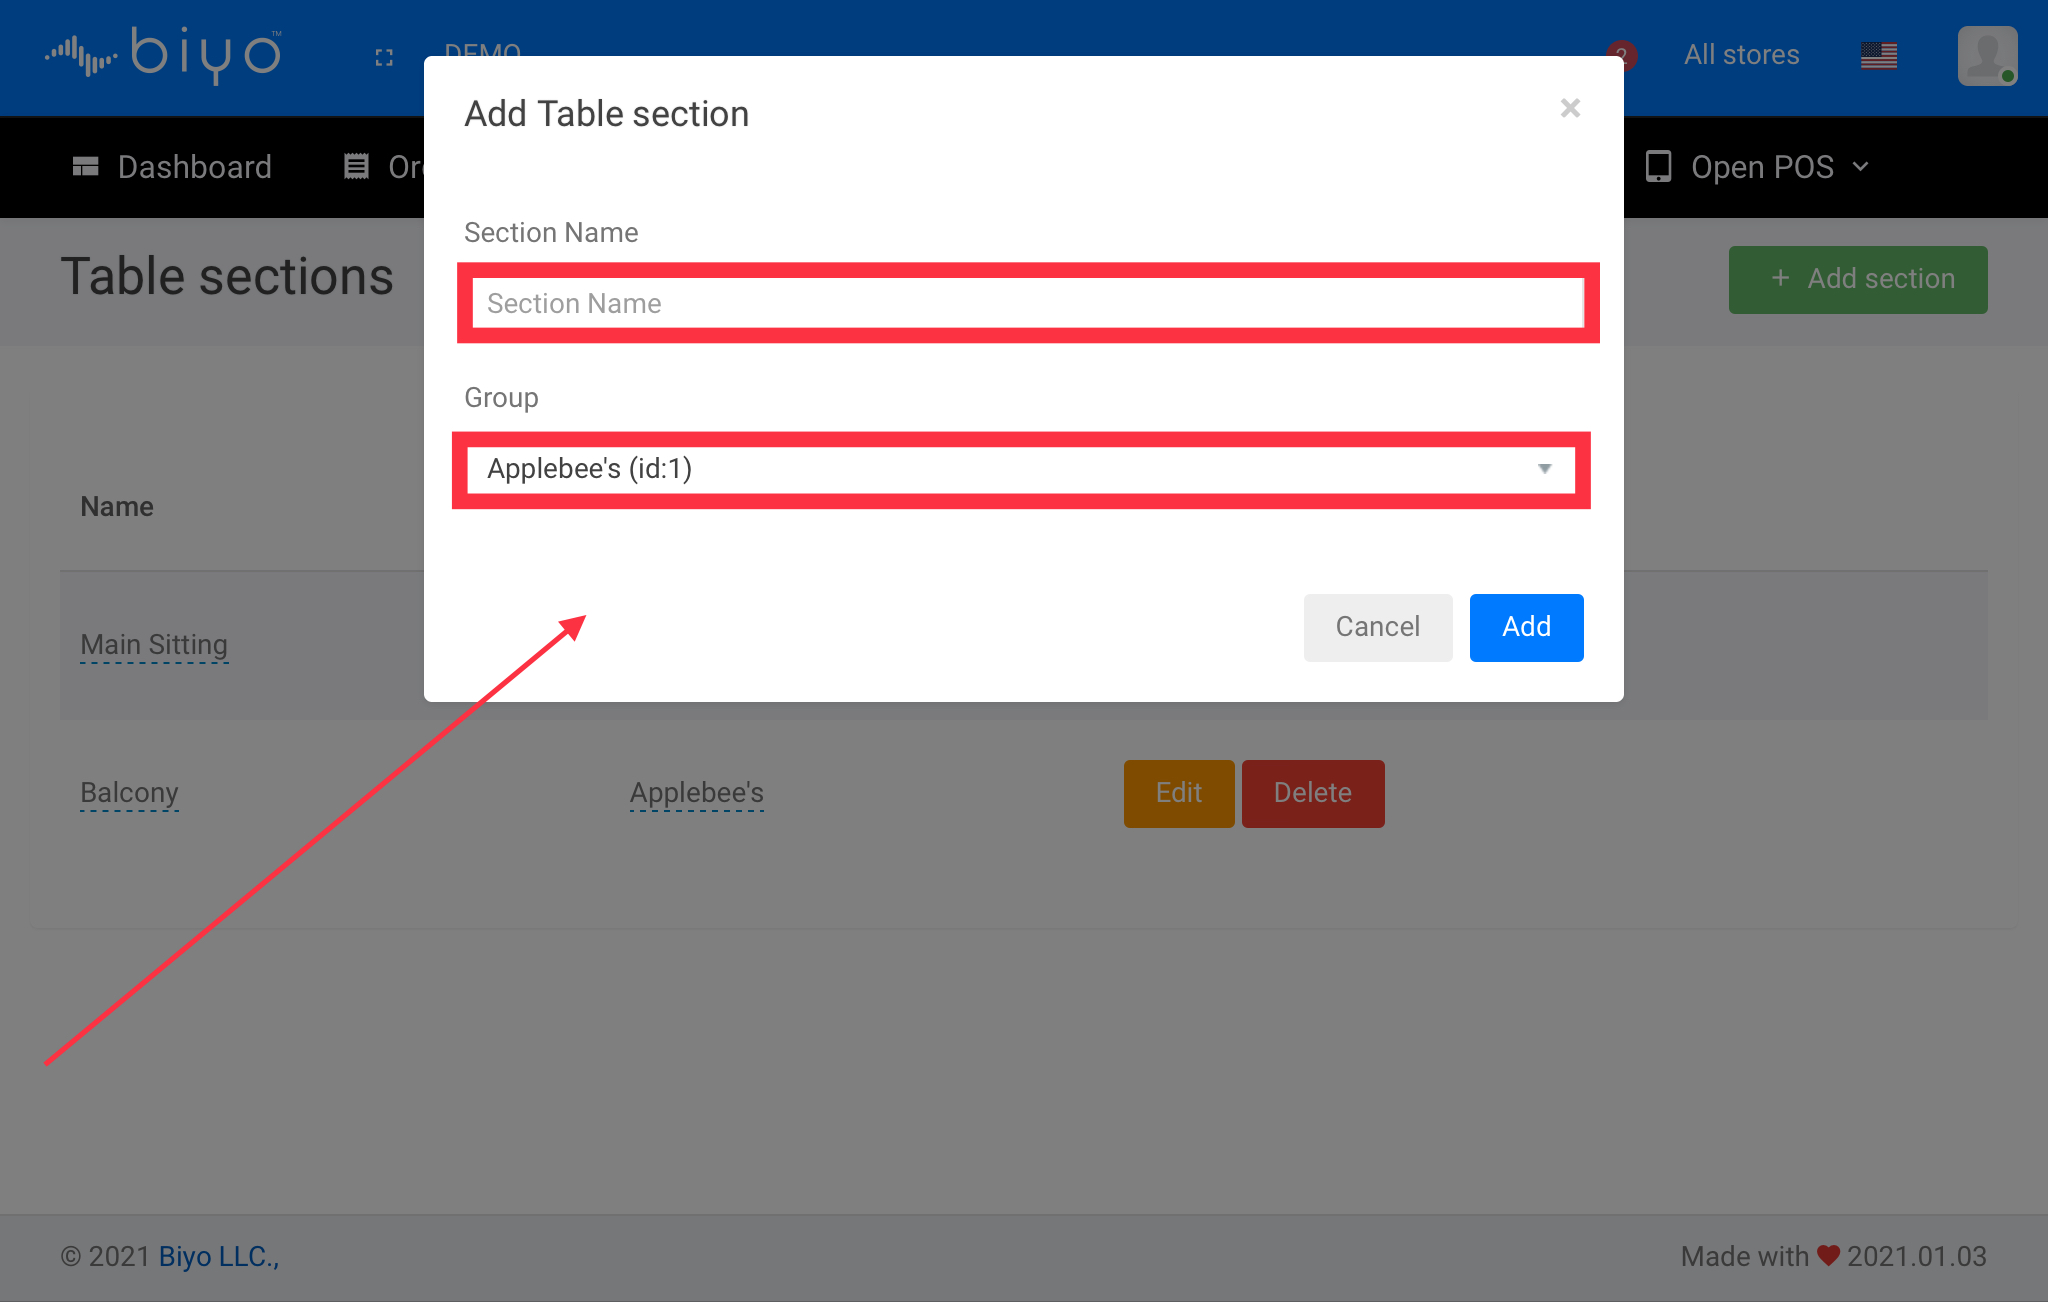
3. In the Add Table Section popup window, enter Section Name and Group Name.
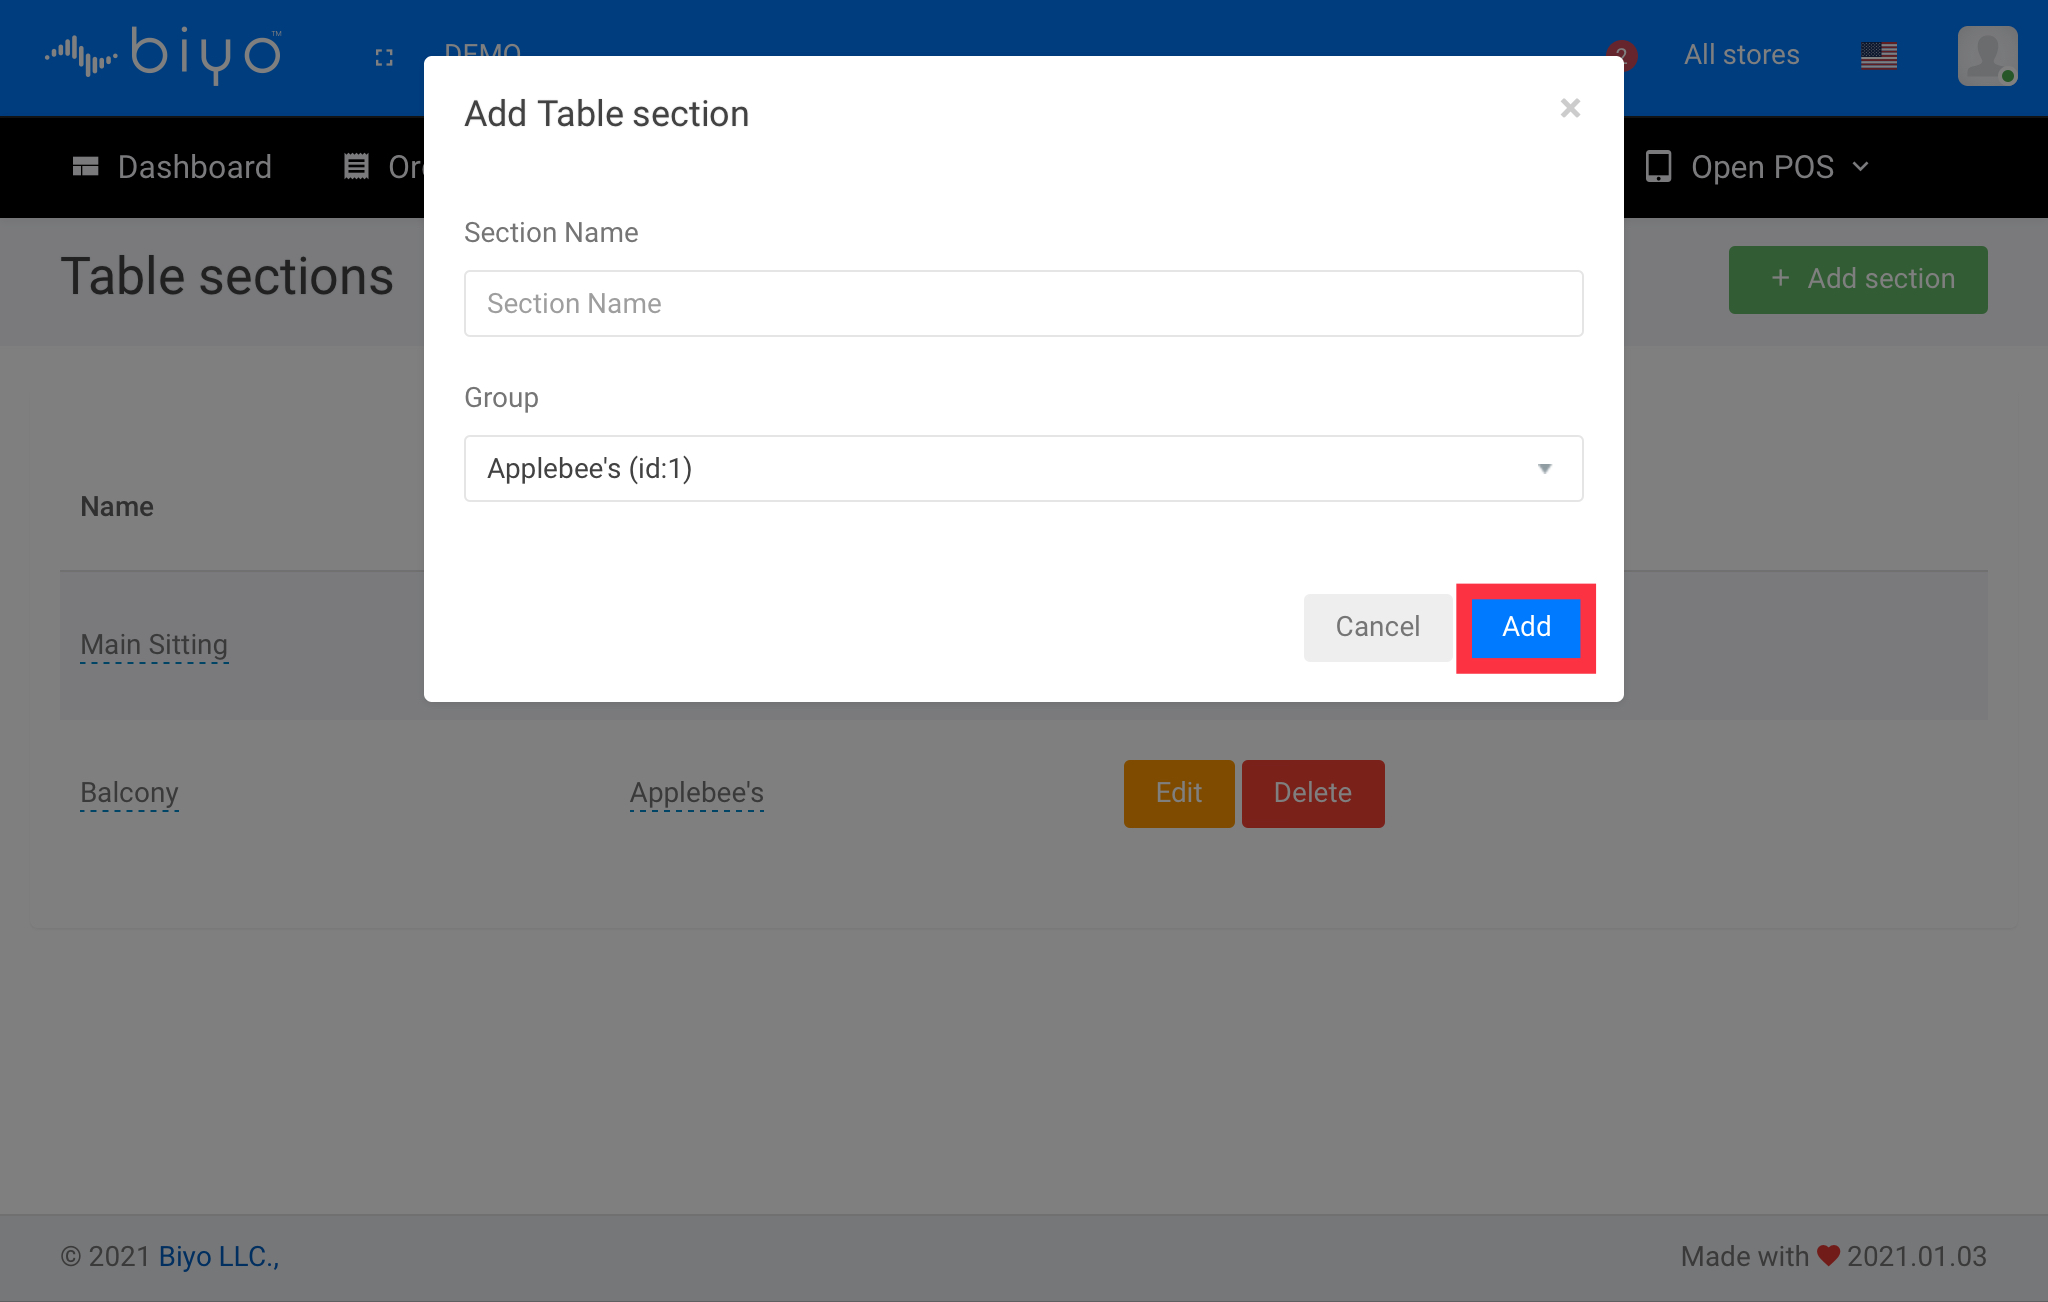
4. Click on Add button.
Arranging the Table Sections and Editing the Table Sections
By editing the table section, user can arrange the table section to match the store. By following the steps given below user can edit a table sections.
1. Click on Edit button from the list table section grid next to the table section you wish to edit.
2. From the table design section, user can drag and drop the table to the blue area
3. Click on the table, user can rename the table.
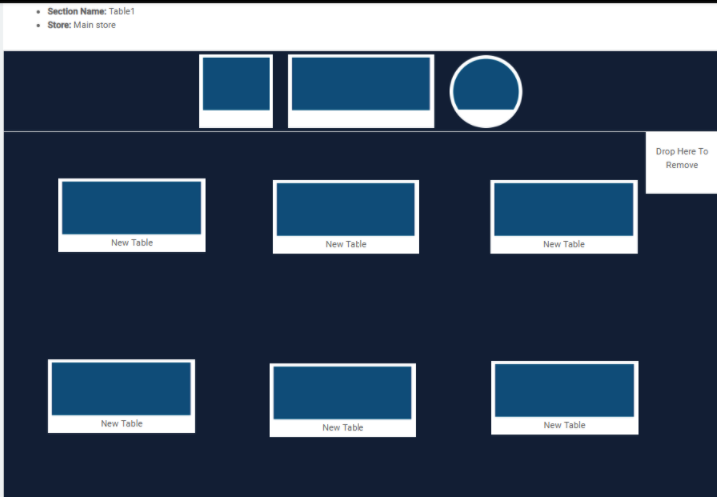
To edit the table sections, user need to click on the Edit button from the arrange table sections page. After updating the values, when the Save button is clicked, the changes are saved.
Deleting the Table Section
By clicking on the Delete button next to the table section listed in the table sections listing grid, user can delete the table sections. Once the table sections is deleted, it will be no longer available in the Biyo Point of Sales application.